

On this page
Introduction: Bringing Production In-House
For decades, the relationship between a clinician and a dental lab has been defined by a single, frustrating variable: waiting. We have all been there—you take a perfect impression, pack it up, and ship it off into the “black box” of the lab courier system. Then, the countdown begins. A week for a study model. Ten days for a surgical guide. And if the fit isn’t perfect when it returns? You start the clock all over again. This lag time isn’t just a logistical nuisance; it is a friction point that tests patient patience and slows down your practice’s cash flow.
But the narrative is changing. In-house dental 3D printing applications are no longer futuristic concepts reserved for high-end cosmetic centers or university hospitals; they are practical, desktop realities for the everyday private practitioner. By bringing production chairside, you are effectively dismantling the waiting game.
This shift is about more than just buying a new piece of equipment. It represents a fundamental change in clinical agency. Imagine scanning a patient for a night guard at 10 AM and handing them the finished, polished appliance at 4 PM the same day. That is the power of chairside manufacturing. It hands you total control over your turnaround times and quality assurance. Whether you are a general dentist tired of rising external lab bills or an orthodontist looking to streamline retainers, setting up a print lab is your gateway to clinical independence. This guide will move past the marketing hype to walk you through the concrete, practical reality of building your own digital workflow.
Beyond Models: Diverse Clinical Applications
If you are only using your 3D printer to fabricate diagnostic casts, you are barely scratching the surface of what digital dentistry can do for your bottom line. While 3D printing dental models for crown and bridge work or patient consultation is the classic “gateway” application, the real ROI kicks in when you start printing functional, biocompatible appliances that go into the patient’s mouth.
The true power of this technology lies in the resin, not just the machine. Modern biocompatible materials have evolved to the point where they rival traditional acrylics in strength and aesthetics. Take implantology, for instance. By printing your own surgical guides, you transform implant placement from a freehand “educated guess” into a guided, scientifically precise procedure. You sleep better knowing the angulation is perfect, and the patient recovers faster with a flapless approach.
Then there is the bread-and-butter of general practice: occlusal splints. We all know the frustration of receiving a lab-fabricated night guard that requires thirty minutes of chairside grinding to seat. Printed splints, designed from digital scans, offer a friction-grip fit that often drops in with zero adjustment. They are rigid, durable, and can be replaced in hours if a patient loses one.
Finally, we cannot ignore the explosion of aligner printing. By printing a series of staged models to thermoform clear aligners in-house, you take back control of your orthodontic cases. You are no longer beholden to the massive lab fees and rigid shipping schedules of the big clear aligner brands. You determine the treatment plan, you control the staging, and you keep the profit margin within your clinic walls.
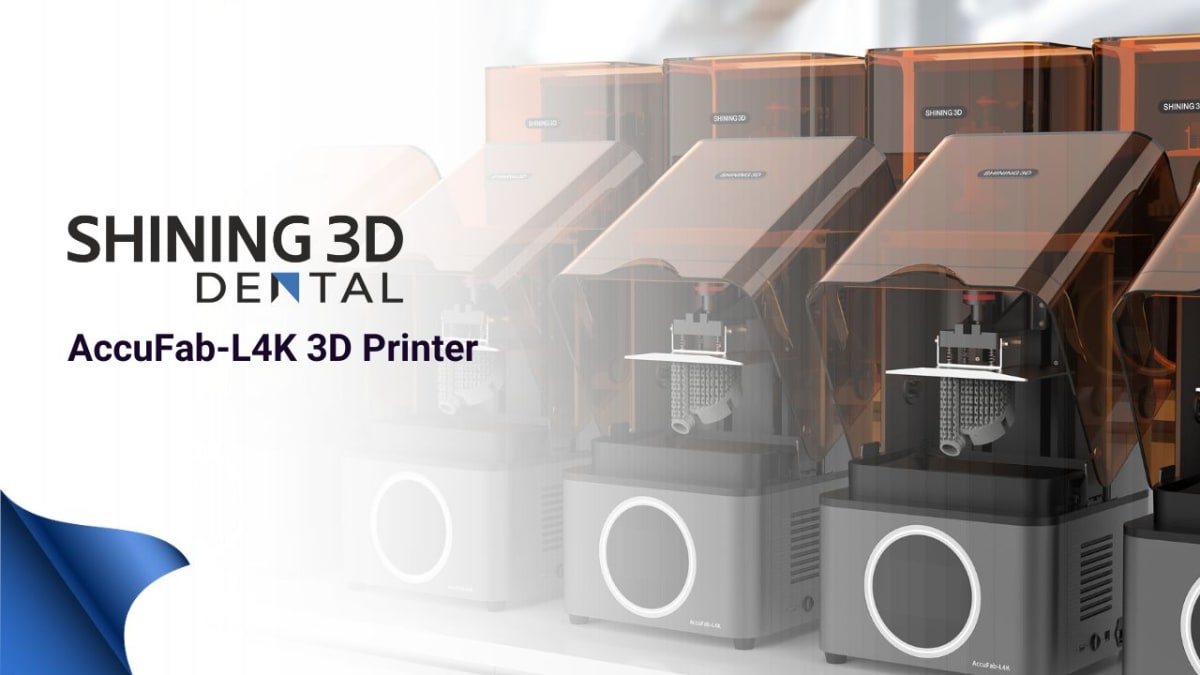
The Clinic Workhorse: Shining 3D AccuFab-L4K

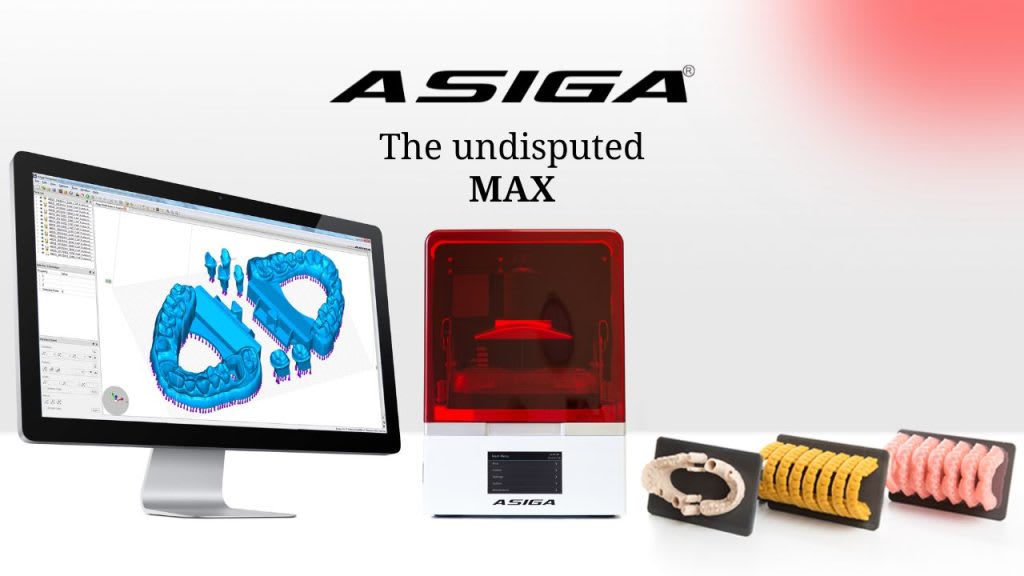 Asiga Max 3D Printer
 Shining 3D AccuFab-L4K 3D Printer
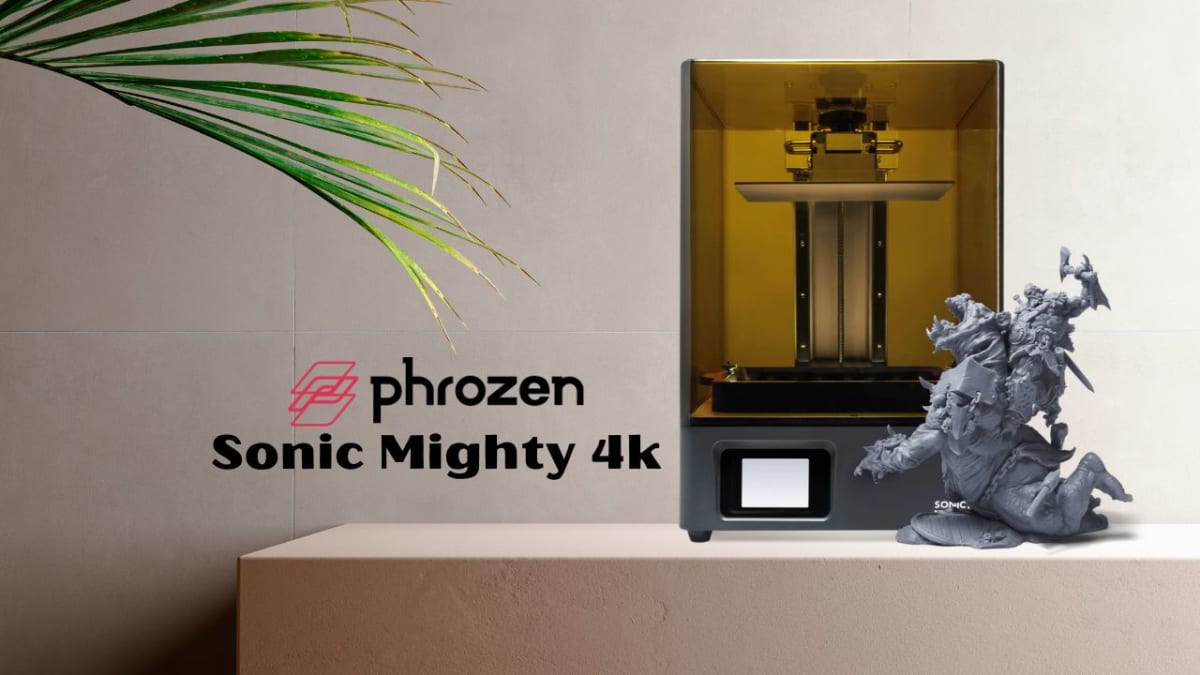 Phrozen Mighty 4K 3D Printer
 Elegoo Saturn 3 3D Printer
Disclaimer
This article is for general information. Product specifications and features change with the manufacturer — confirm details with our team before you buy. Full disclaimer